Allplan is installed, your IDE is ready… perfect, let’s see in detail how PythonParts work.

1) Files’ Description

To work, a PythonPart needs at least 2 files :

  • GUI File

The interface file corresponds to what the user will see from the Allplan palette, this will be our user interface.

It’s in XML format (extensible markup language) and has the .pyp extension.

In this file we will place texts, input fields, checkboxes, images, … everything the end user will need for the proper understanding and execution of the script.

  • Main Script

On the other hand, the main script contains the major elements of the script.

Written in Python, it has the .py extension.

In this file, we will place our different functions, variables, loops, … in short, all our instructions.

  • (Optional) Icon

Non-mandatory, but not to be overlooked, this is an image of your choice that best represents the script.

This image will be in PNG format (Portable Network Graphics) and will therefore naturally have the .png extension.

Please note : its name must be the same as the GUI file and it must be placed in the same folder ; the recommended size is 128×128 px.

2) Files’ location

Although it can be placed anywhere, it’s highly recommended to place the GUI file in the Allplan library folder.
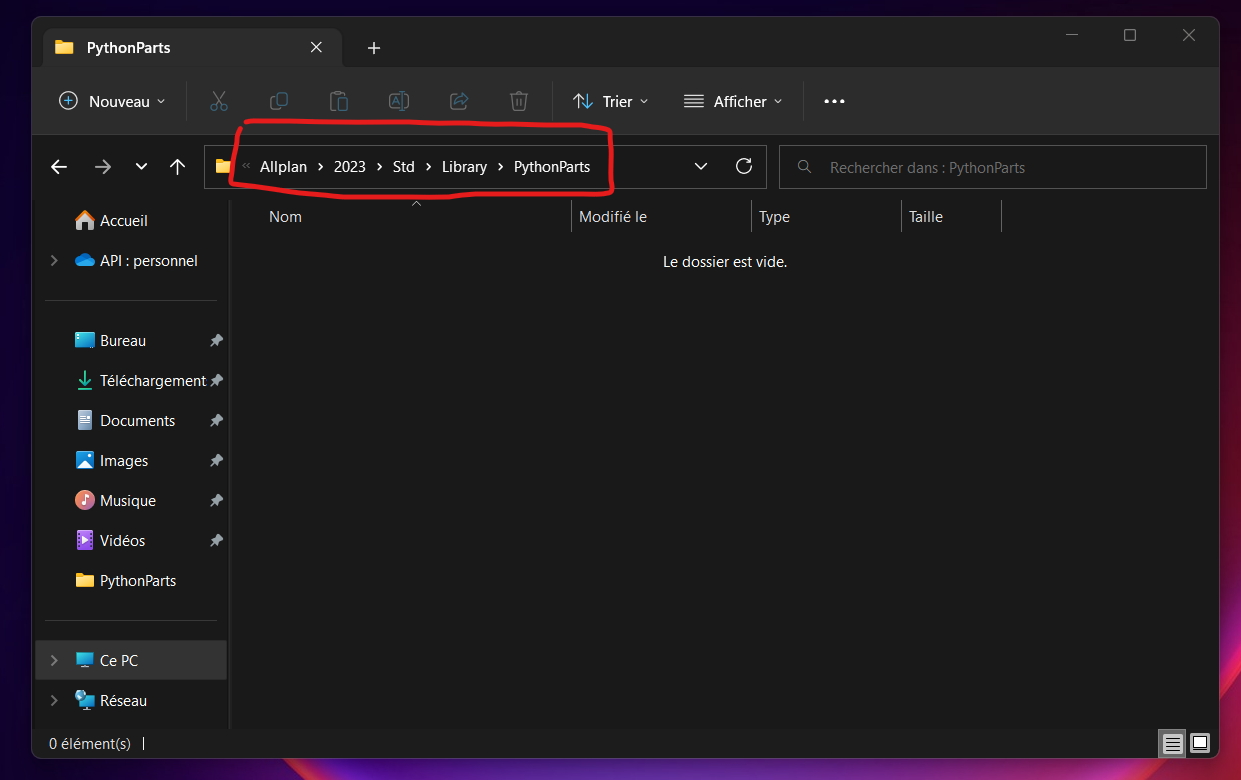
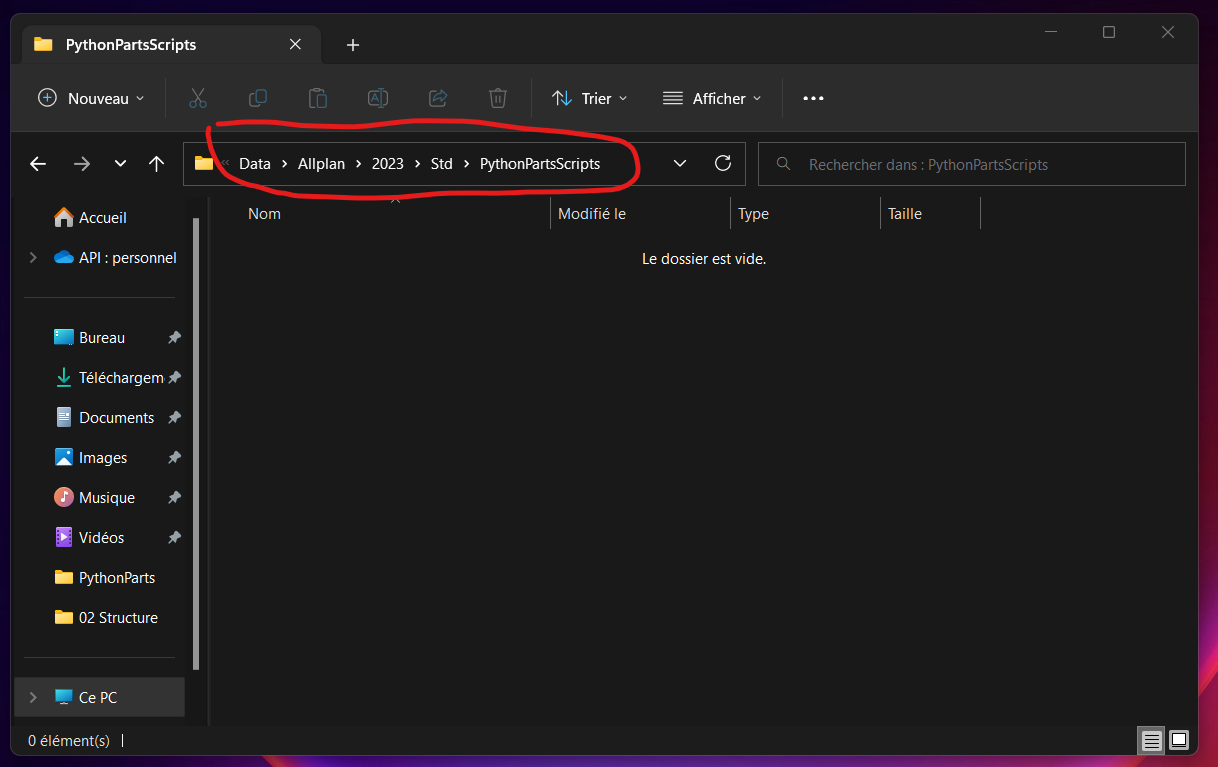
For the main script, it will be dropped into a PythonPartsScripts folder ; itself in one of these 3 available slots :

  1. *.PRJ (current project folder) ;
  2. USR (user’s folder) ;
  3. STD (agency’s folder).

It’s the latter that I recommend because it guarantees access to the scripts on all your projects and it’s shared throughout your company.

Please note :  …\ETC\PythonPartsScripts\… folder contains the scripts provided by default with Allplan. Be careful not to use it.
0 Comments

Submit a Comment

Objects3D V2.0

Next step for the modeling of our PythonPart “Reinforced Concrete Column”, today let's see how to configure the anchors of our 3D object. By anchoring I am particularly thinking of 2 types :...

Objects3D V1.0

New series in the PythonParts learning journey, let's delve into the modeling of a 3D object : a reinforced concrete column.1) GUI ScriptIn this example, we will set up the initial fields required...

Objects2D V3.0

Last step for this PythonParts example, I'll show you how to set up a legend for our object. This should include the following information : my object's name ; the name of a characteristic geometric...

Objects2D V2.0

In the previous article, we saw how to prepare our code in OOP, today let's see how to exploit its potential with this new example. Indeed, we are going to complete our PythonPart in order to...

Objects2D V1.0

We will build more complex objects on Allplan software, but first at all a word about Object Oriented Programming (OOP)...1) Object Oriented ProgrammingObject Oriented Programming (called OOP) is a...

HelloWorld V3.0

Last step for our HelloWorld script, we will see how to customize the rendering of our object.1) GUI ScriptBack in our palette, I first create a chapter to dissociate the geometric controls from...

HelloWorld V2.0

Previously, we learned how to create an object (a line with fixed length) via the PythonParts API. Today I'm going to show you how to set up handles for our HelloWorld script...1) GUI ScriptThe...

HelloWorld V1.0

HelloWorld is traditionally written to provide an example of a programming language. We will be no exception here with our first script's writing. The goal is simple, create a line with fixed...

Introduction

In this series of articles, we'll study the editing of scripts in the Python programming language for the Allplan software.To allow you to follow these tutorials properly, I'm going to make a few...