In the previous article, we saw how to prepare our code in OOP, today let’s see how to exploit its potential with this new example.
Indeed, we are going to complete our PythonPart in order to generate for choice among these 2D objects:
- a line ;
- a rectangle ;
- a circle.
1) GUI Script
I go in my section dedicated to geometry (GeometryExpander) and I will place a menu for the final user with the 3 choices mentioned above.
To do this I choose to use a RadioButtonGroup :
<Parameter>
<Name>ChoiceRadioGroup</Name>
<Text>Je souhaite :</Text>
<Value>line</Value>
<ValueType>RadioButtonGroup</ValueType>…
</Parameter>
Please note :
- we can see its ID (Name) as well as the text to be displayed in Allplan (Text);
- the line value defines the initial state of my script.
Then I place my different options, starting with a line :
<Parameter>
<Name>ChoiceLine</Name>
<Text>une ligne</Text>
<Value>line</Value>
<ValueType>RadioButton</ValueType>
</Parameter>
then a rectangle :
<Parameter>
<Name>ChoiceRectangle</Name>
<Text>un rectangle</Text>
<Value>rectangle</Value>
<ValueType>RadioButton</ValueType>
</Parameter>
finally a circle :
<Parameter>
<Name>ChoiceCircle</Name>
<Text>un cercle</Text>
<Value>circle</Value>
<ValueType>RadioButton</ValueType>
</Parameter>
</Parameter>
In Allplan I see :
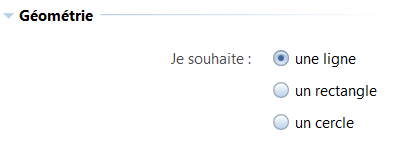
Please note : line is the default choice
Depending on the chosen object, I place my different fields for the definition of the required dimension :
the line’s length :
<Parameter>
<Name>LineLength</Name>
<Text>Longueur</Text>
<FontFaceCode>4</FontFaceCode>
<Value>1000.0</Value>
<ValueType>Length</ValueType>
<Visible>ChoiceRadioGroup == « line »</Visible>
</Parameter>
Please note : using the Visible field I define the condition for displaying this variable
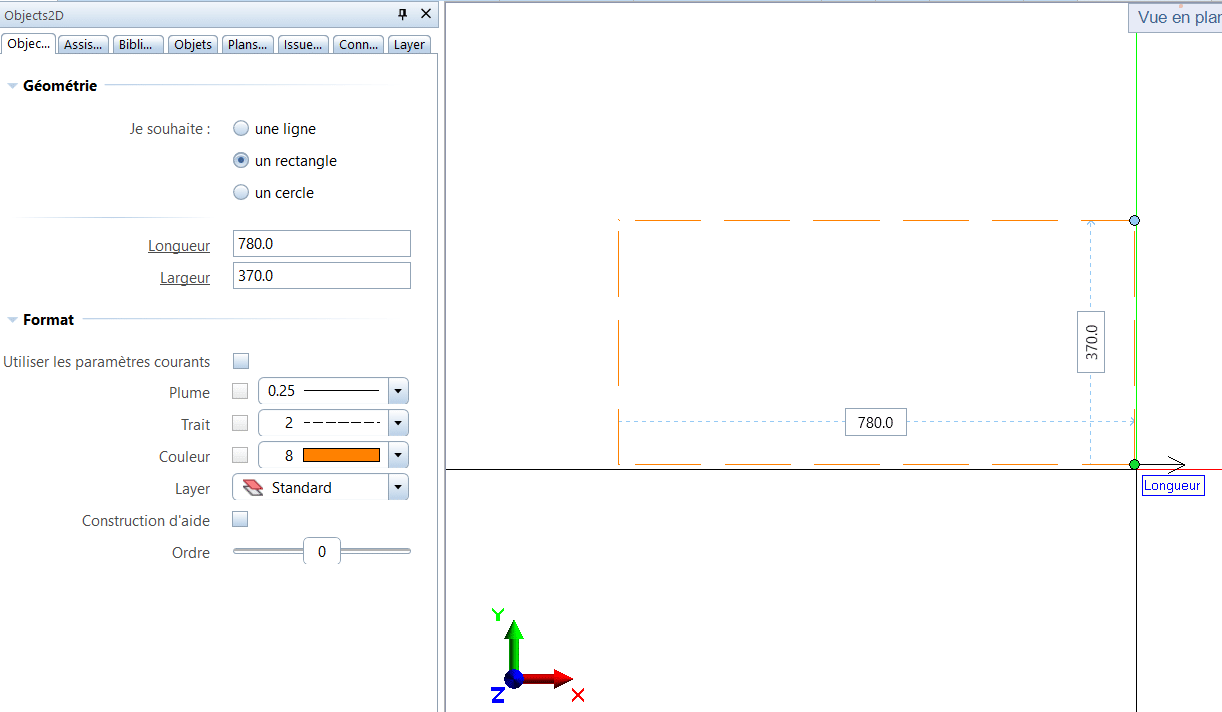
the rectangle’s length and width :
<Parameter>
<Name>RectLength</Name>
<Text>Longueur</Text>
<FontFaceCode>4</FontFaceCode>
<Value>1000.0</Value>
<ValueType>Length</ValueType>
<Visible>ChoiceRadioGroup == « rectangle »</Visible>
</Parameter>
<Parameter>
<Name>RectWidth</Name>
<Text>Largeur</Text>
<FontFaceCode>4</FontFaceCode>
<Value>500.0</Value>
<ValueType>Length</ValueType>
<Visible>ChoiceRadioGroup == « rectangle »</Visible>
</Parameter>
my circle’s radius :
<Parameter>
<Name>CircleRadius</Name>
<Text>Rayon</Text>
<FontFaceCode>4</FontFaceCode>
<Value>1000.0</Value>
<ValueType>Length</ValueType>
<Visible>ChoiceRadioGroup == « circle »</Visible>
</Parameter>
Back in Allplan, I obtain :
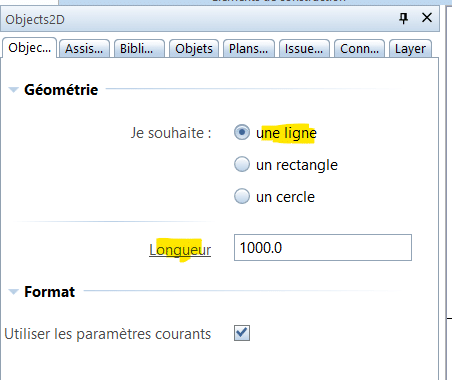
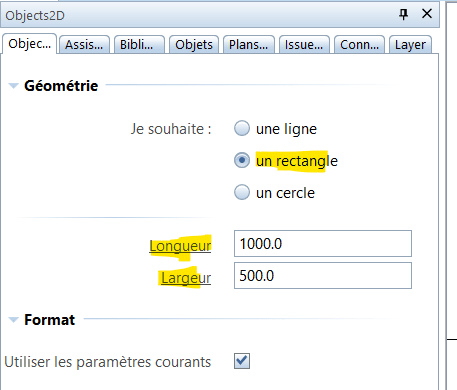
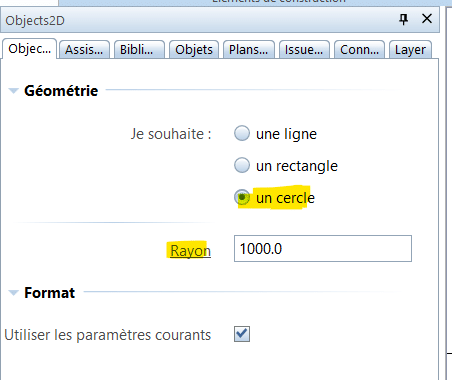
Here is the complete source code :
2) Main Script
-
Child Class : Rectangle2D
For my Python script, I complete my child classes inherit of Object2D.
My Line2D class was mentioned earlier, so I create my Rectangle2D class :
class Rectangle2D(Objects2D):
def __init__(self, object_2d_prop, rect_length, rect_width):
Objects2D.__init__(self, object_2d_prop)
self.rect_length = rect_length
self.rect_width = rect_width
Please note : as for the line, I start from the parent class‘ variables then I add those necessary for my object (length and width).
Then I prepare in a list my 2 handles for these 2 dimensions, specifying each time the different information I need :
self.handles_prop = [Handle(« RectLengthHandle« ,
Geometry.Point3D(self.rect_length, 0, 0),
Geometry.Point3D(),
« RectLength »,
HandleDirection.X_DIR,
« Longueur »
),
Handle(« RectWidthHandle« ,
Geometry.Point3D(self.rect_length, self.rect_width, 0),
Geometry.Point3D(self.rect_length, 0, 0),
« RectWidth »,
HandleDirection.Y_DIR,
« Largeur »
)
]
Please note : previously we saw the Handle class containing the 6 variables
I place my function to generate the geometry by setting my various points :
def create_geo(self):
self.geo = Geometry.Polygon2D()
self.geo += Geometry.Point2D()
self.geo += Geometry.Point2D(self.rect_length, 0)
self.geo += Geometry.Point2D(self.rect_length, self.rect_width)
self.geo += Geometry.Point2D(0, self.rect_width)
self.geo += self.geo.StartPoint
Please note : you have to close the polyline well, so my last point goes back to the first with StartPoint.
-
Child Class : Circle2D
Ditto for the circle, I start by placing my Circle2D class inherited from Object2D :
class Circle2D(Objects2D):
def __init__(self, object_2d_prop, circle_radius):
Objects2D.__init__(self, object_2d_prop)
self.circle_radius = circle_radius
as well as my handle for radius control :
self.handles_prop = [Handle(« CircleRadiusHandle« ,
Geometry.Point3D(self.circle_radius, 0, 0),
Geometry.Point3D(),
« CircleRadius »,
HandleDirection.X_DIR,
« Rayon »
)
]
Finally I’m looking at the geometry’s creation by overriding the create_geo function :
def create_geo(self):
self.geo = Geometry.Arc2D(Geometry.Point2D(),self.circle_radius)
All my classes are ready, all I have to do is take the data from the palette and thus generate my object.
I go in my create_element function, and I will complete :
- the variables’ extraction
# Extract parameters values from palette
choice = build_ele.ChoiceRadioGroup.value
line_length = build_ele.LineLength.value
rect_length = build_ele.RectLength.value
rect_width = build_ele.RectWidth.value
circle_radius = build_ele.CircleRadius.value
- my object’s creation :
# Create 2D object
if choice == « line »:
object_2d = Line2D(com_prop, line_length)
elif choice == « rectangle »:
object_2d = Rectangle2D(com_prop, rect_length, rect_width)
else:
object_2d = Circle2D(com_prop, circle_radius)
Please note :
- depending on the user’s choice, I create an instance of line, rectangle or circle ;
- function calls for geometry (create_geo), rendering (add_view) and handles do not change.
Here is the complete source code :
Thanks to OOP, our code is clearer, all redundant parts have been grouped together in functions that promote reuse and facilitate maintenance.
0 Comments